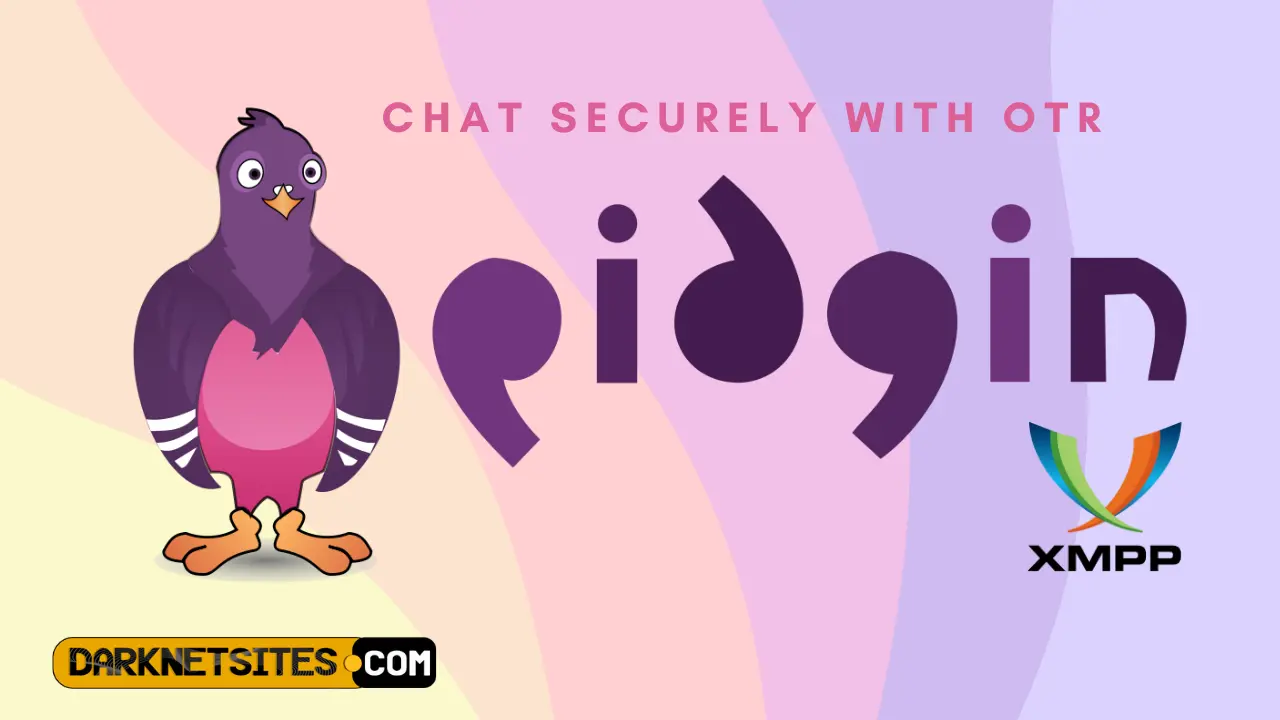
Security plays a significant role these days when people are inclined more towards privacy. Jabber/XMPP, that uses xmpp protocol, also otherwise known as Pidgin, is the best solution if you want to safeguard your privacy while enjoying a secured chat facility.
So, what is XMPP? Well, XMPP full form is Extensible Messaging and Presence Protocol. Pidgin is an open-source and free client that allows you to manage and organize your various instant messaging or IM accounts using just a single interface.
What is OTR? What does OTR stand for? The OTR or the Off-the-Record plugin designed for Pidgin usage ensures that there remain secure and authenticated communications between the users of Pidgin or Jabber. read till the end to know how to install OTRs.
To start off your journey with Pidgin, you are required to have an existing IM account, following which you will need to get yourself registered to Pidgin. You might find a lot of services offering you XMPP servers. If you are still not having an existing account, you can directly create it via the XMPP/Jabber software. You can also create your account on jabbim.com.
Table of Contents
Downloading & Installing Pidgin To Your Computer
In this article, we will be guiding you through the straightforward process of jabber download and installing Pidgin.
But before that, let us know a bit on what is jabber? Jabber, also known as Extensible Messaging and Presence Protocol (XMPP), is an open-standard communication protocol used for real-time messaging, voice and video calls, file sharing, and presence information.
To enjoy fast, secure, and instant messaging of the secure chat app, follow the steps one by one as mentioned below:
- Visit Pidgin.im, download the .exe file and install it by double-clicking the .exe file.
- Launch the Pidgin. If you are installing the Pidgin for the first time on your system, a welcome screen will appear as soon as you launch it.
- Click on the “Add” button, and you will be displayed a blank Add Account window.
- Under the “Basic”, click on the “Protocol” drop-down list. A list of the IM service protocols that the Pidgin supports will be displayed.
- Select “XMPP” from the drop-down list.
- Type your username as you wish suffixed by @jabber.calyxinstitute.org. (For example, if you choose a username “Flower”, the format of the jabber id will be – [email protected]).
- Next, choose a long password and click on the checkbox of the remember password. If you want to optimize your security and privacy on the most secure chat app, you must not click on the “Remember Password” checkbox. This implies that whenever you log in to your Jabber account and chat online, you will be prompted to provide your password. This helps you to keep off the pretenders who pose to be you if you keep your system unattended for some time. Additionally, you can store the username and password in case you need them anytime later.
- Choose a name for “Local Alias” that people would see or that you would like your contacts to see. However, this field is optional.
- Click on “Add” to complete your account creation on the private secure chat app.
- Next, to carry forward chats, you will need to add your buddies or contact person. To add a buddy to your Jabber/XMPP account, do the steps as stated below:
- Locate “Buddies” at the top and click on it. A drop-down list appears. Choose “+ Add Buddy”.
- As you do this, an “Add Buddy” dialogue box appears. In the “Buddy’s Username” text field, type in your buddy’s or contact’s email address (or Pidgin user email). Say your buddy’s username is “[email protected]”. You need to type this precisely in the text field of the add buddy window in the secure chat messenger.
- Enter the alias of your buddy with which you will identify him. The name you enter will appear in the online contacts list later in the Pidgin. However, this is optional. On not entering a particular alias, your contact’s email address or username gets displayed.
- Click on “Add” to add your buddy. This will send your buddy a message from you requesting authorization or approval of your request to add him to your Jabber contact list.
- When your buddy receives an authorization request from you, he is required to click on “Authorize”. As soon as he authorizes, his username (alias or email id) gets displayed in the contact list.
11. Next, locate “Tools” at the top and choose “Plugins”.
12.Locate the “OTR” or find the option “Off-the-Record Messaging” and click on the checkbox. Click on “Configure Plugin”. (Note: OTR will only work if both you and your contact/buddy installs and enables it).
Sending Message Securely Using XMPP/Jabber
We have covered how you can download and install the Jabber/XMPP in your system in the previous segment. Here, we will be covering how you can send messages to your contacts using the best secure chat messenger.
- Locate your buddy’s name in the list of contacts and double-click on it.
- The chatbox opens.
- You might find in the bottom right “unverified with an exclamation mark”. Click on it and choose “Authenticate Buddy”.
- A pop-up appears. From the drop-down list, select “Manual fingerprint”, and in the below, you will find another drop-down. Click on that and choose “I Have”. Click “Ok”.
- Next, in the chatbox of your contact/buddy, at the bottom right, right-click on the “option” and choose “Start private conversation”. As you do this, your messages get encrypted while you chat.
- When you want to exit Pidgin, make sure to choose “End private conversation” by right-clicking on the “private” option in green. This ensures all the messages and records are destroyed as you exit.
These are all the processes to successfully download, install and chat via the Pidgin or XMPP/Jabber. This secure chat software is considered one of the best in the top 10 secure chat apps list. This might seem like a long process. But you will find it easy once you start doing it and get the hang of it. However, mostly the procedures are for the first-time user. If you already have installed and performed the basics of the secure private chat app, you will need to follow the messaging part each time you want to have a one-to-one encrypted conversation.
Read More On:
How To Encrypt & Decrypt Messages Using PGP Via Gpg4usb?