Did you hear about TrueCrypt? If yes, you will have lesser problems understanding the concept to encrypt hard disk. This is because VeraCrypt vs TrueCrypt has not much of a difference. VeraCrypt is an open-source and free disk encryption software that is based on TrueCrypt. It offers enhanced security to the algorithms that have been used for the system. It also partitions the encryptions shielding them from the new developments in brute-force attacks. Additionally, it solves several vulnerabilities as well as security issues found in TrueCrypt.
This advanced-level security invites some delay SOLELY to the launch of the encrypted partitions without disturbing the performance of the application use phase. This is, however, acceptable to the legit owner although it makes it much difficult for an attacker to achieve access to the encrypted data. VeraCrypt is truly compatible with TrueCrypt and can even mount the TrueCrypt volumes. It also has the capability to convert them to the VeraCrypt format.
Table of Contents
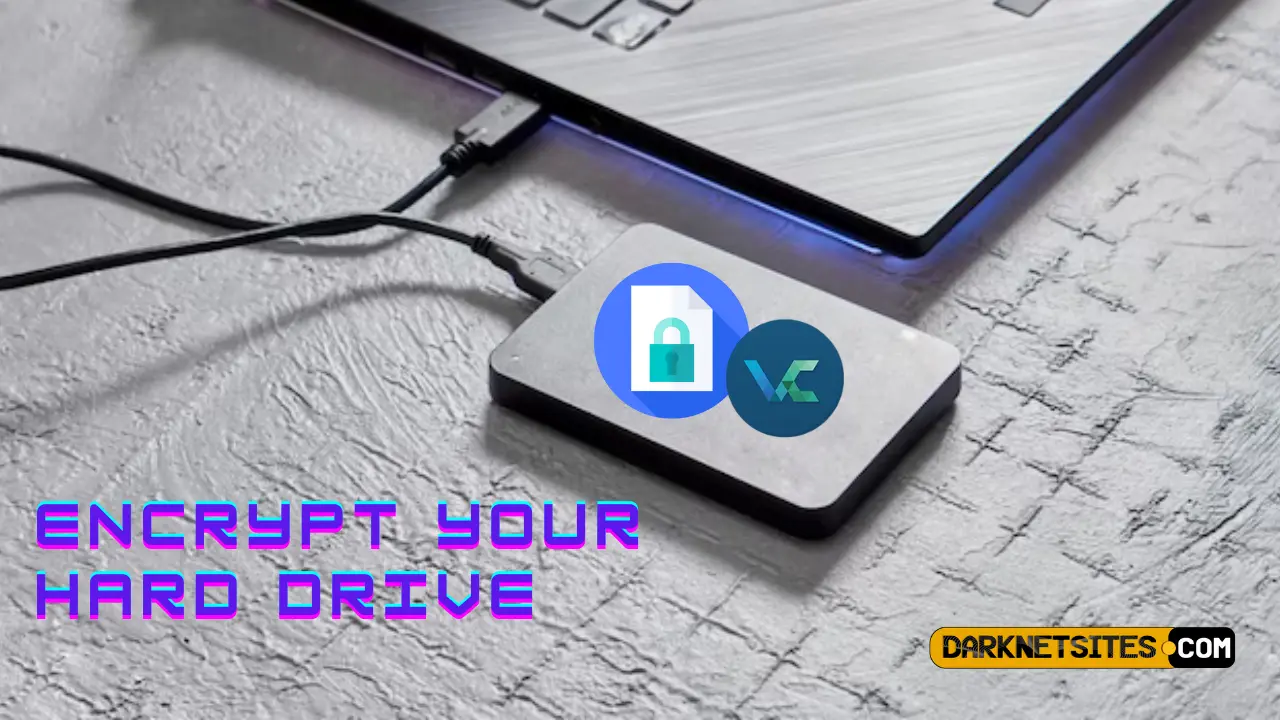
Encrypting Hard Disk With VeraCrypt
You might already know what is hard disk encryption. Curious to know how to encrypt external hard disk? Here is a step-by-step guide on how to encrypt your hard disk with the help of VeraCrypt. This aims to be helpful for beginners who are wishing to encrypt hard disk windows 10 or on lower versions but do not know how the procedures work. Follow the procedure step-by-step for successful encryption.
Step 1: VeraCrypt Download & Installation
If it is the first time you are using VeraCrypt, download and install VeraCrypt. After a successful download VeraCrypt procedure, launch it by double-clicking on the “VeraCrypt.exe” file. Alternatively, you can also click on the VeraCrypt shortcut in your windows start menu.
Step 2: VeraCrypt Volume Creation
The main VeraCrypt window will open. Locate the “Create Volume” button and click on it.
On doing this, the “VeraCrypt Volume Creation Wizard” window will open. At this point, you need to choose the location where you want the VeraCrypt Encrypt Hard Disk With VeraCrypt volume to be created. A VeraCrypt volume can stay in a file, also known as a container, in a drive or partition. But in this tutorial, we will go with the first type. Thus, we will create a VeraCrypt volume within a file. This option is selected by default. So you can click “Next”. Note, here the right side of the wizard is shown as a screenshot.
Now, you will need to choose whether to create the volume as hidden or standard VeraCrypt. But, we will choose the standard one and create a standard VeraCrypt volume. The option is selected by default. So go ahead and click “Next”.
File Container Creation
At this point, you have to specify where you want the VeraCrypt volume (the file container) to be created. Note that the VeraCrypt container is just like a usual file. Thus, it needs a file name that you have to choose in the next step. As the dialog box appears, click on “Select File”. Make sure that the volume creation window remains open in the background.
VeraCrypt Volume Creation in F Drive
This tutorial will focus on the creation of volume VeraCrypt in the F drive as in F:\Data\. The file name of the volume or container needs to be “My Volume”. Note that the file name “My Volume” originally does not exist but will create it for you.
Take a note that VeraCrypt will not encrypt any of the existing files while creating the file container. If in this step, you select an existing file, it will just be overwritten and will be replaced by the newly created volume. This means that the overwritten file will be lost and not encrypted. Later on, you will be able to encrypt the existing files by moving them to the VeraCrypt volume.
- Choose the desired path in the selector where you wish to create the container.
- Type the desired container name for the file in the “Filename” box.
- Click “Save”. The file selector window will disappear.
In the next steps, we will return to the volume creation wizard of VeraCrypt. Also, note that after you have copied the unencrypted existing files to the VeraCrypt volume, you must securely wipe off the original unencrypted files. You might find a software tool of your choice that performs the secure erasure function and honestly, many of them are free.
Click “Next” in the Volume Creation Window.
Encryption / Hash Algorithm
In this step, you can select an encryption algorithm as well as a hash algorithm for the volume. If you are unsure about what to choose here, you can go ahead with the default settings. Click “Next”.
Here, we have specified that the VeraCrypt container size would be 250 megabytes. You can choose a different size for the VeraCrypt container. After you have specified your desired container size in the empty field, click “Next”.
VeraCrypt Volume Password Creation
Here come the most important steps of all. You are required to choose a good volume password. Read the note given in the dialog box before you enter your password. You need to type the password in the first empty space. Next, you have to re-enter the password to confirm. The “Next” button will be disabled until you type both the passwords same.
Increasing Cryptographic Strength Of Encryption Keys
Now, you have to randomly move the mouse as much as possible till the indicator becomes green. It will be better if you move the mouse for a longer period. The cryptographic strength of the encryption keys significantly increases and further increases security. After this, click “Format”.
As you do this, the volume creation begins and VeraCrypt creates a file named “My Volume” in the folder “F:\Data\”. This file will be the VeraCrypt container. The volume creation may take time depending on the size of the volume. As the process gets over, a dialog box will be displayed. Click “OK” to close the dialog box.
The VeraCrypt volume has been created successfully. Now, in the volume creation window, click “Exit”.
The next steps are for mounting the volume that has just been created. We will be returning to the main window of VeraCrypt that was already running. If that is not running, you need to go to step 1 and launch the VeraCrypt and continue from step-3.
Step 3: Mounting VeraCrypt Container
At this point, you need to select one of the drive lists from the drop-down list. This will be the drive letter on which the VeraCrypt container would be mounted. For this tutorial, we have chosen drive M, but you can choose anyone from the available options.
Click on “Select File”.
In the file selector, you need to browse the container file that you have created in previous steps and select it. Then click “Open”. The file selector window will get disappeared.
Click on “Mount” in the main VeraCrypt window and you will receive a password prompt dialog box.
Type the same password that you have set in step 2 in the password input field..
PRF Algorithm Selection
In this step, you have to select the PRF algorithm that has been used while creating the volume. The default PRF is SHA-512 that VeraCrypt uses. In case you do not know which PRF has been used, you can just set it to “autodetection”. However, the mounting process will take time. After entering the password, click “OK”.
Now, VeraCrypt will try to mount the volume. If the password entered is incorrect, you will be notified and you will be required to repeat the previous step. You need to repeat the previous step wherein you have to re-enter the password and click “OK”. If the password is correct, the volume will get mounted.
Step 4: Final Step Of Hard Disk Encryption
We have already mounted the container as a virtual disk M. The virtual disk is also entirely encrypted including free space, allocation tables, file names, and more. This behaves like a real disk. You can copy, move, save files to this virtual disk. They will be encrypted on the fly as they get written.
In case you open a file that is stored on the VeraCrypt volume, say, in a media player, the file will get auto decrypted to RAM or the memory on the fly while the file is being read. Note that when you open a stored file on a VeraCrypt volume or when you write/copy a file to/from the VeraCrypt volume, you will nerve be asked to reenter the password. You will just need to enter the correct password only while you are mounting the volume.
You can also open the mounted volume by selecting it on the list and then double-click on the selected item. Simultaneously, you can also browse the mounted volume the same way you normally browse the other types of volumes. You can copy the folders and the files to and from the VeraCrypt volume, in the same manner, you will copy them to any normal disk. The files are being copied from the encrypted VeraCrypt volume or read gets automatically decrypted on the fly in the RAM.
Note: VeraCrypt never stores the decrypted data to a disk. It just stores them for some time in the RAM. Even when the volume of VeraCrypt is mounted, the volume stored data is encrypted. When you restart Windows or even turn off your computer, the volume gets dismounted and all the files stored on it get inaccessible and encrypted. When you restart Windows or even turn off your computer, the volume gets dismounted and all the stored files become inaccessible and encrypted. The same thing happens when the power supply suddenly gets interrupted. In order to make them accessible, you will need to mount the volume again. For doing so, you need to repeat the earlier steps.
If you wish to close the volume and make the files inaccessible again, you would either need to restart your OS or dismount the volume. For doing it, you would need to follow the below-mentioned steps:
- Select the volume from the list of the mounted volumes appearing in the main VeraCrypt window.
- Click “Dismount”.
If you want to make the stored files in the volume accessible again, you have to re-mount the volume following the steps mentioned earlier.
With this, we come to the end of the tutorial where you have successfully learned and encrypted hard disk using VeraCrypt.
Is VeraCrypt Safe? Exploring the Security of this Encryption Software
Let’s find out!
-
Strong Encryption: VeraCrypt utilizes powerful encryption algorithms like AES, Serpent, and Twofish to secure your data. These algorithms are widely recognized and trusted for their robustness.
- Open-Source: VeraCrypt is an open-source software, allowing for transparency and community scrutiny. The source code is publicly available, enabling experts to review and identify any potential vulnerabilities.
- Audited for Security: VeraCrypt has undergone independent security audits to assess its effectiveness and identify any weaknesses. The results have demonstrated its resilience and added assurance to its safety.
- Multi-Platform Compatibility: VeraCrypt is available for multiple operating systems, including Windows, macOS, and Linux. This widespread availability ensures consistent security across different platforms.
- Hidden Volume and Steganography: VeraCrypt offers features like hidden volumes and steganography, allowing you to further protect sensitive data by concealing it within innocent-looking files or creating hidden storage areas.
- Password Security: VeraCrypt allows you to set strong passwords for your encrypted volumes, making it challenging for unauthorized individuals to gain access.
- Plausible Deniability: With VeraCrypt, you can create hidden volumes within encrypted volumes, providing an additional layer of protection and plausible deniability.
- Continuous Development and Support: VeraCrypt is actively developed and maintained by a dedicated community. Regular updates address any discovered vulnerabilities and ensure the software remains secure.
While VeraCrypt offers robust security measures, it is important to remember that no encryption software is entirely immune to vulnerabilities. Stay updated with the latest version, use strong passwords, and follow recommended security practices to maximize your data protection.
Read More On:
How To Encrypt & Decrypt Messages Using PGP Via Gpg4usb?
How To Install Whonix Easily & Quickly On Your PC?